Obsidian lets you customize your fonts with its built in settings apparatus, but that's not always quite enough for more compicated use cases. Let's quickly review the basic settings, then take a look at how to use CSS Snippets to fine tune fonts (and other styles) on the theme or selector level. Then, we'll look at how to do the same on an Obsidian Publish site.
This article is intended to be more novice/amateur oriented, unlike some of my other articles! Don't worry, no giant code blocks like last time.
Using the base settings
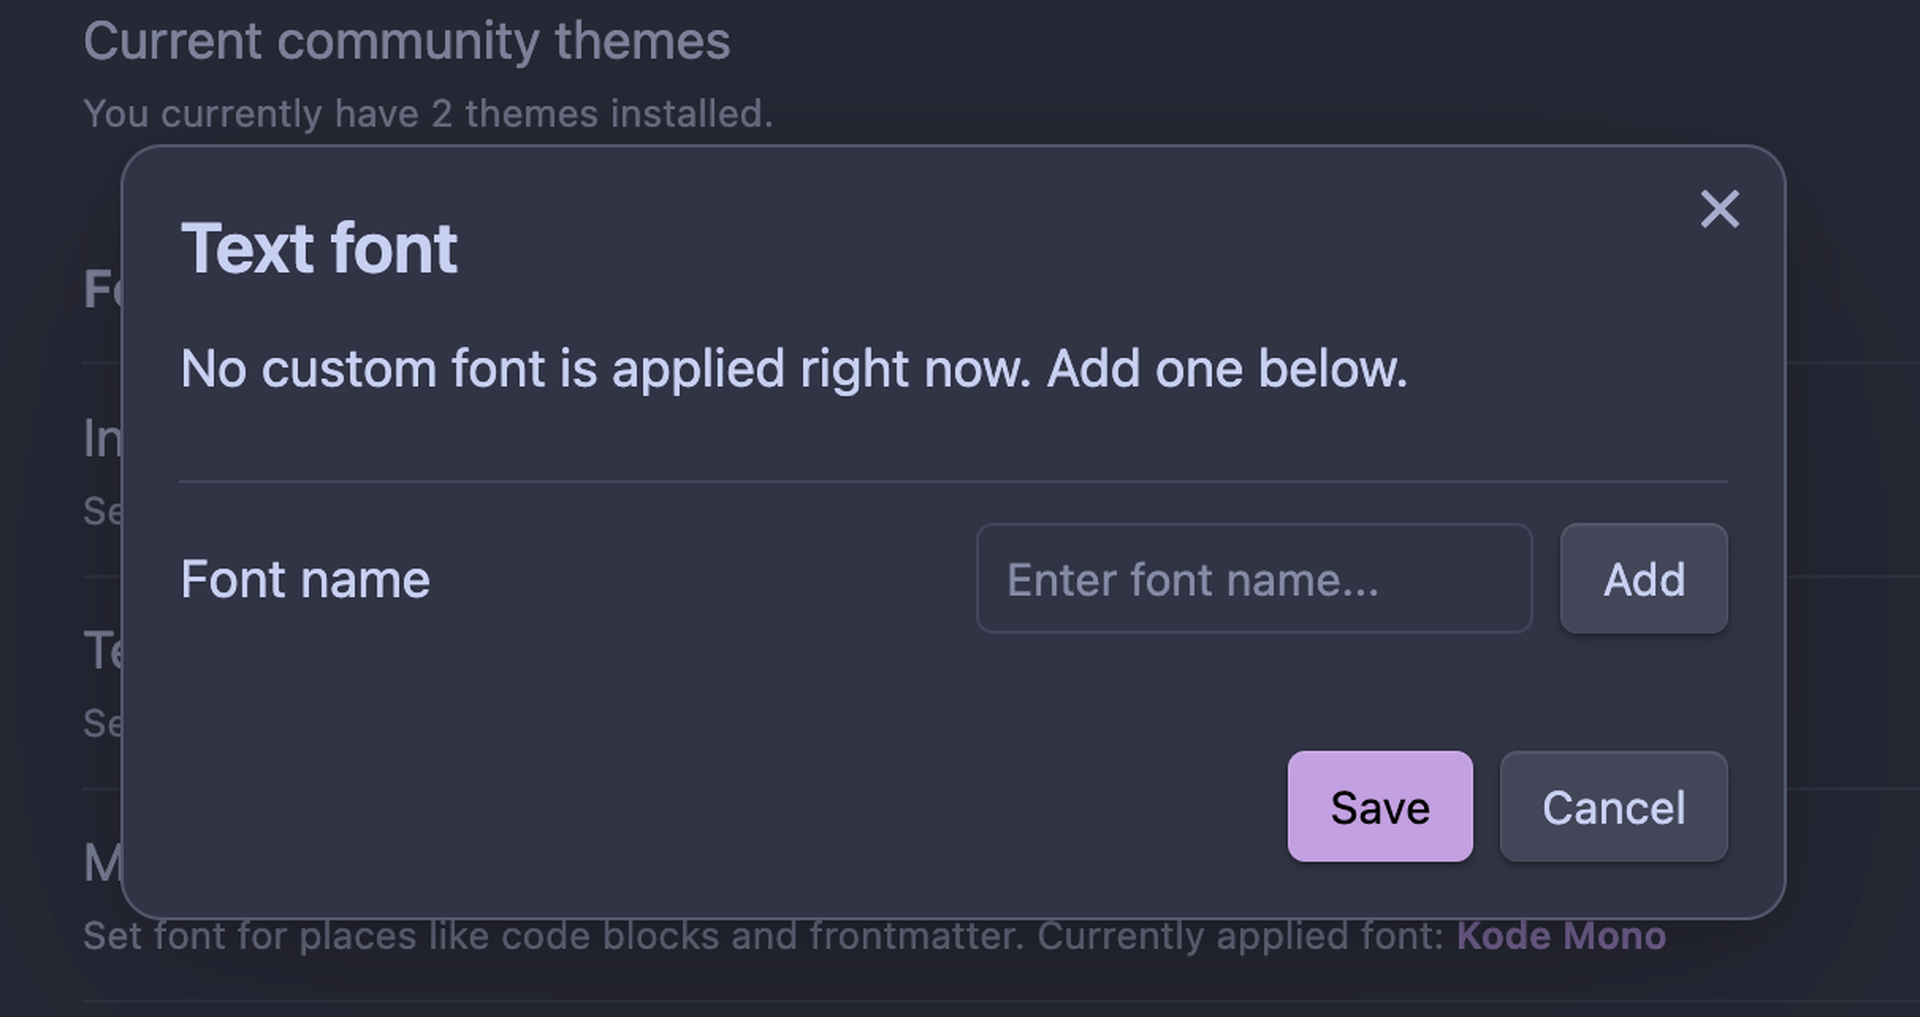
By default, the Appearance panel of Obsidian lets you customize several font settings, Interface Font, Text Font, and Monospace Font are the relevant settings here.
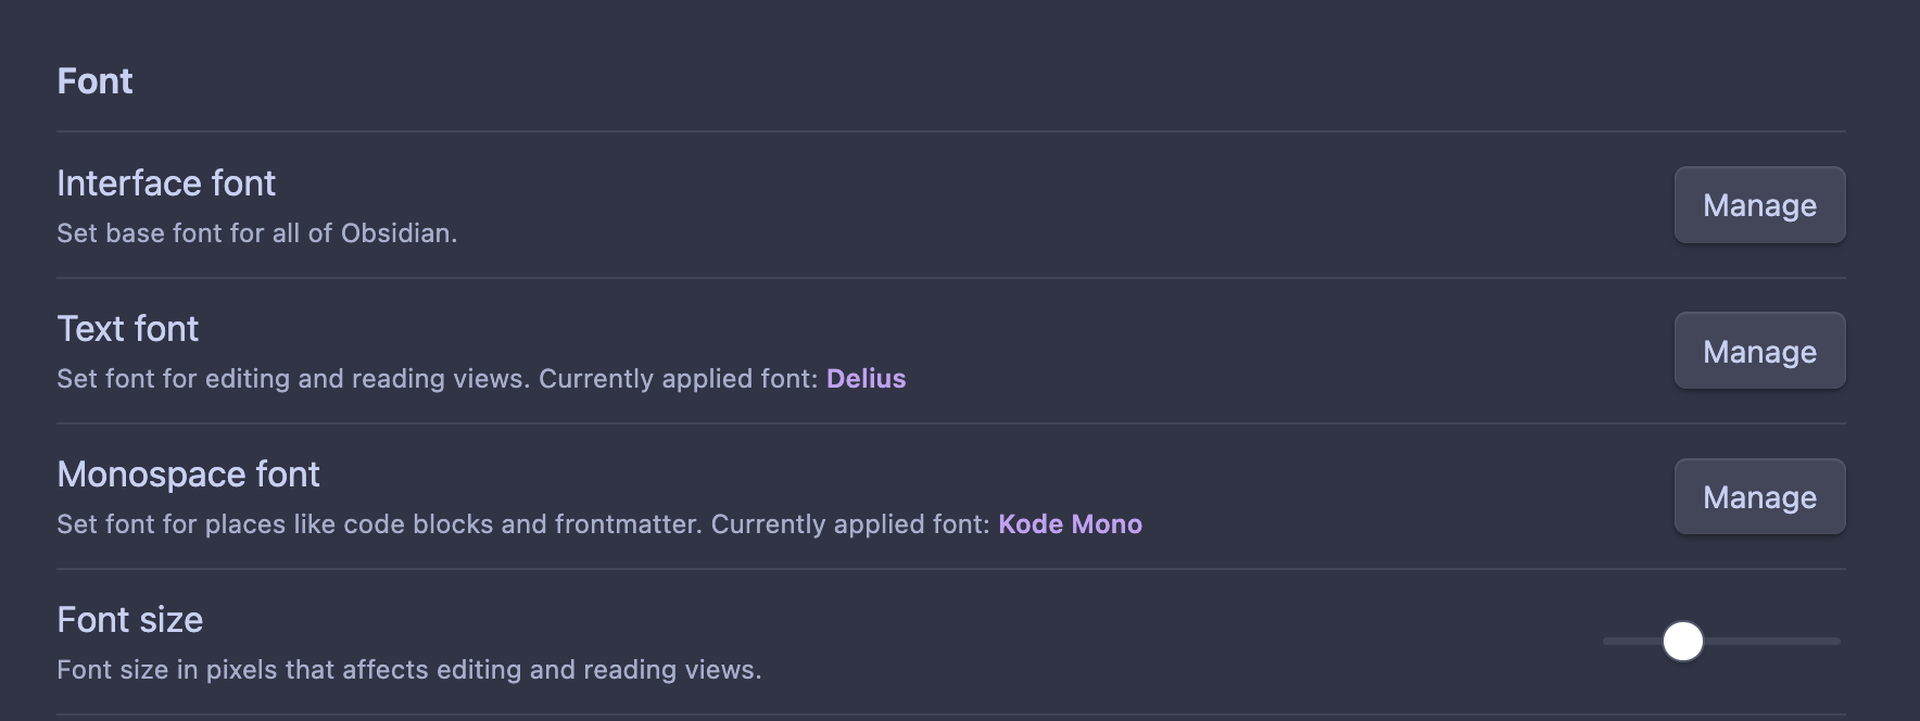
The inner menu will helpfully give you suggestions for fonts on your system.
In addition, many themes, such as Minimal theme which I use right now support customizing fonts further via their integration with the Style Settings plugin.
Here's what that looks like on the Minimal theme:

So, easy story: You install the font on your machine (if it's not already there), you configure the settings, it works.
If you use Obsidian Sync, you'll need to install the fonts on each device then change this setting manually on each, but there are tricks to make the change portable. If you use Publish you'll need to update your publish.css with some new rules, we'll go over that, too.
Portability of fonts
Since the settings above depend on your system settings you'll get an inconsistent experience across devices. Not only do you have to set this on each device, you also need to install the danged fonts! Worse, you gotta do this every time you change things! It really ruins the fun of being mercurial.
Thankfully, Obsidian's own (excellent) documentation provide us ready access to an answer! In the snippets article we can see how to create CSS snippets in ./obsidian/snippets. In the themes article we can that Obsidian blocks network access in CSS so we need to encode our assets. We can do this with the very nice Woff2Base tool, but there are other options too.
So, let's make a font snippet and set some cross device overrides! This way, we can edit the CSS and see our changes populate across devices.
First, pick some fonts! I tend to use Google Fonts since the fonts there have relatively unfussy licenses. You can use anywhere though, just make sure you obtain ttf or woff files, variable width is best.
Next, use your favorite editor (don't have one? Try Zed!) to open up your vault and create an .obsidian/snippets/fonts.css file. (You might need to make the parent folders.)
Take the ttf or woff files you downloaded and open them with the site, it should give you a block of text like this:
@font-face {
    font-family: "Architects Daughter";
    /* Add other properties here, as needed. For example: */
    /*
    font-weight: 100 900;
    font-style: normal italic;
    */
    src: url(data:font/ttf;base64,...a bunch of letters...);
}
Take those, and put them into your new CSS snippet. You'll have a block for each font.
Once you've got all your font rules, scroll back to the top of the file and add a rule to set the fonts via the known Obsidian CSS Variables:
body {
    --font-monospace: "Kode Mono";
    --font-text: "Delius";
    --font-interface: "Delius";
}

/* Font rules */

@font-face {
    font-family: "Architects Daughter";
    /* Add other properties here, as needed. For example: */
    /*
    font-weight: 100 900;
    font-style: normal italic;
    */
    src: url(data:font/ttf;base64,...a bunch of letters...);
}

/* ...More... */
From here, just this once, you'll need to go to each device, make sure it's got "Sync all other file types", let it sync, then in the Appearance menu scroll to the bottom and enable the fonts.css snippet:

Give a look over things, and see if they work:
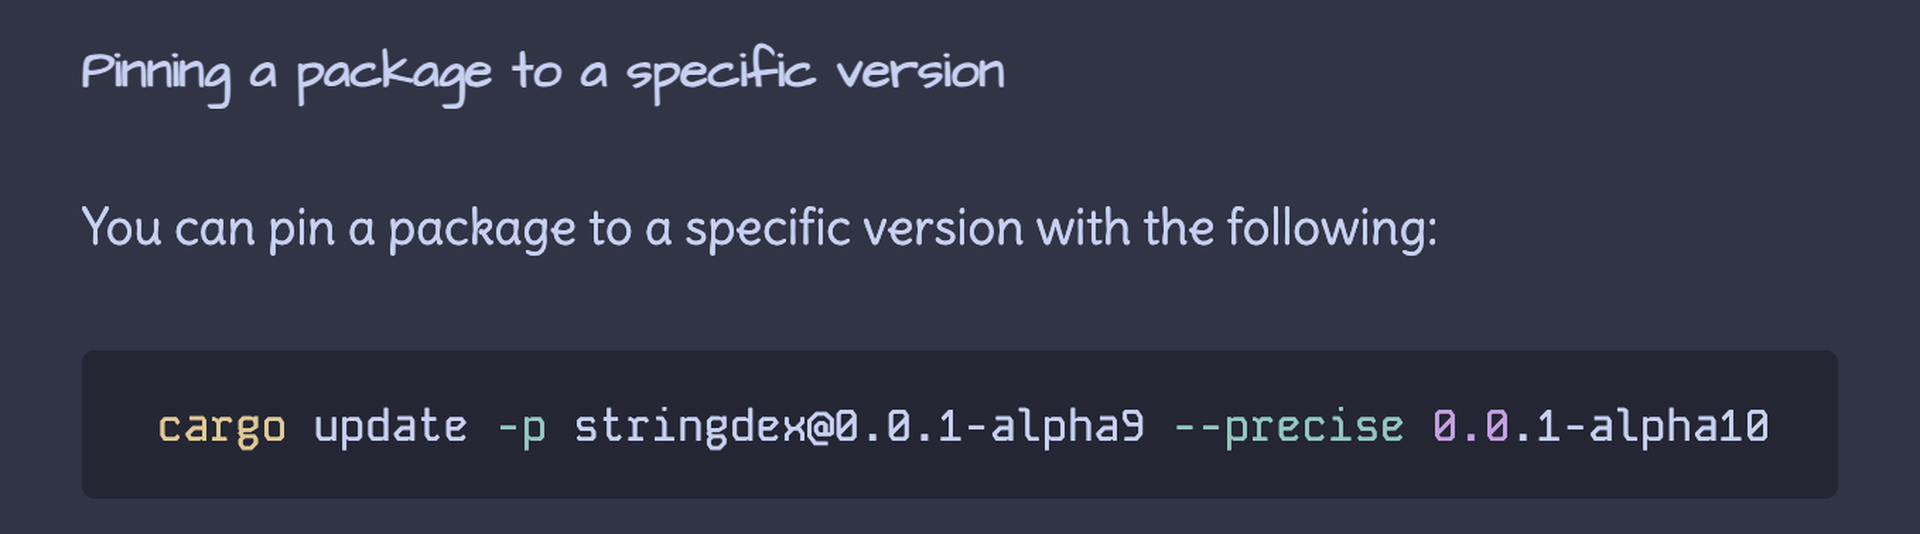
At this point, everything worked for me. You might have some complications, but I'm confident you'll get through it!
But wait, Ana, that shows specially fonted headings, I want that too!
Hey, great! Let's do that next.
Per element type styling
This part can be theme dependent! I'm using the Minimal theme, but I'll try to describe a general process.
To figure out what variable to edit, we can look at the various settings from the theme. First check out Obsidian CSS Variables. Beyond that, if the theme provides integration with Style Settings you can perhaps find it somewhere like here in the theme.css.
Failing that, you'll need to dig around in the Inspector, you can access it from the "View" menu under "Toggle Developer Tools" (there are hotkeys). This article is extremely helpful for understanding how to use the tool if you're unfamiliar.
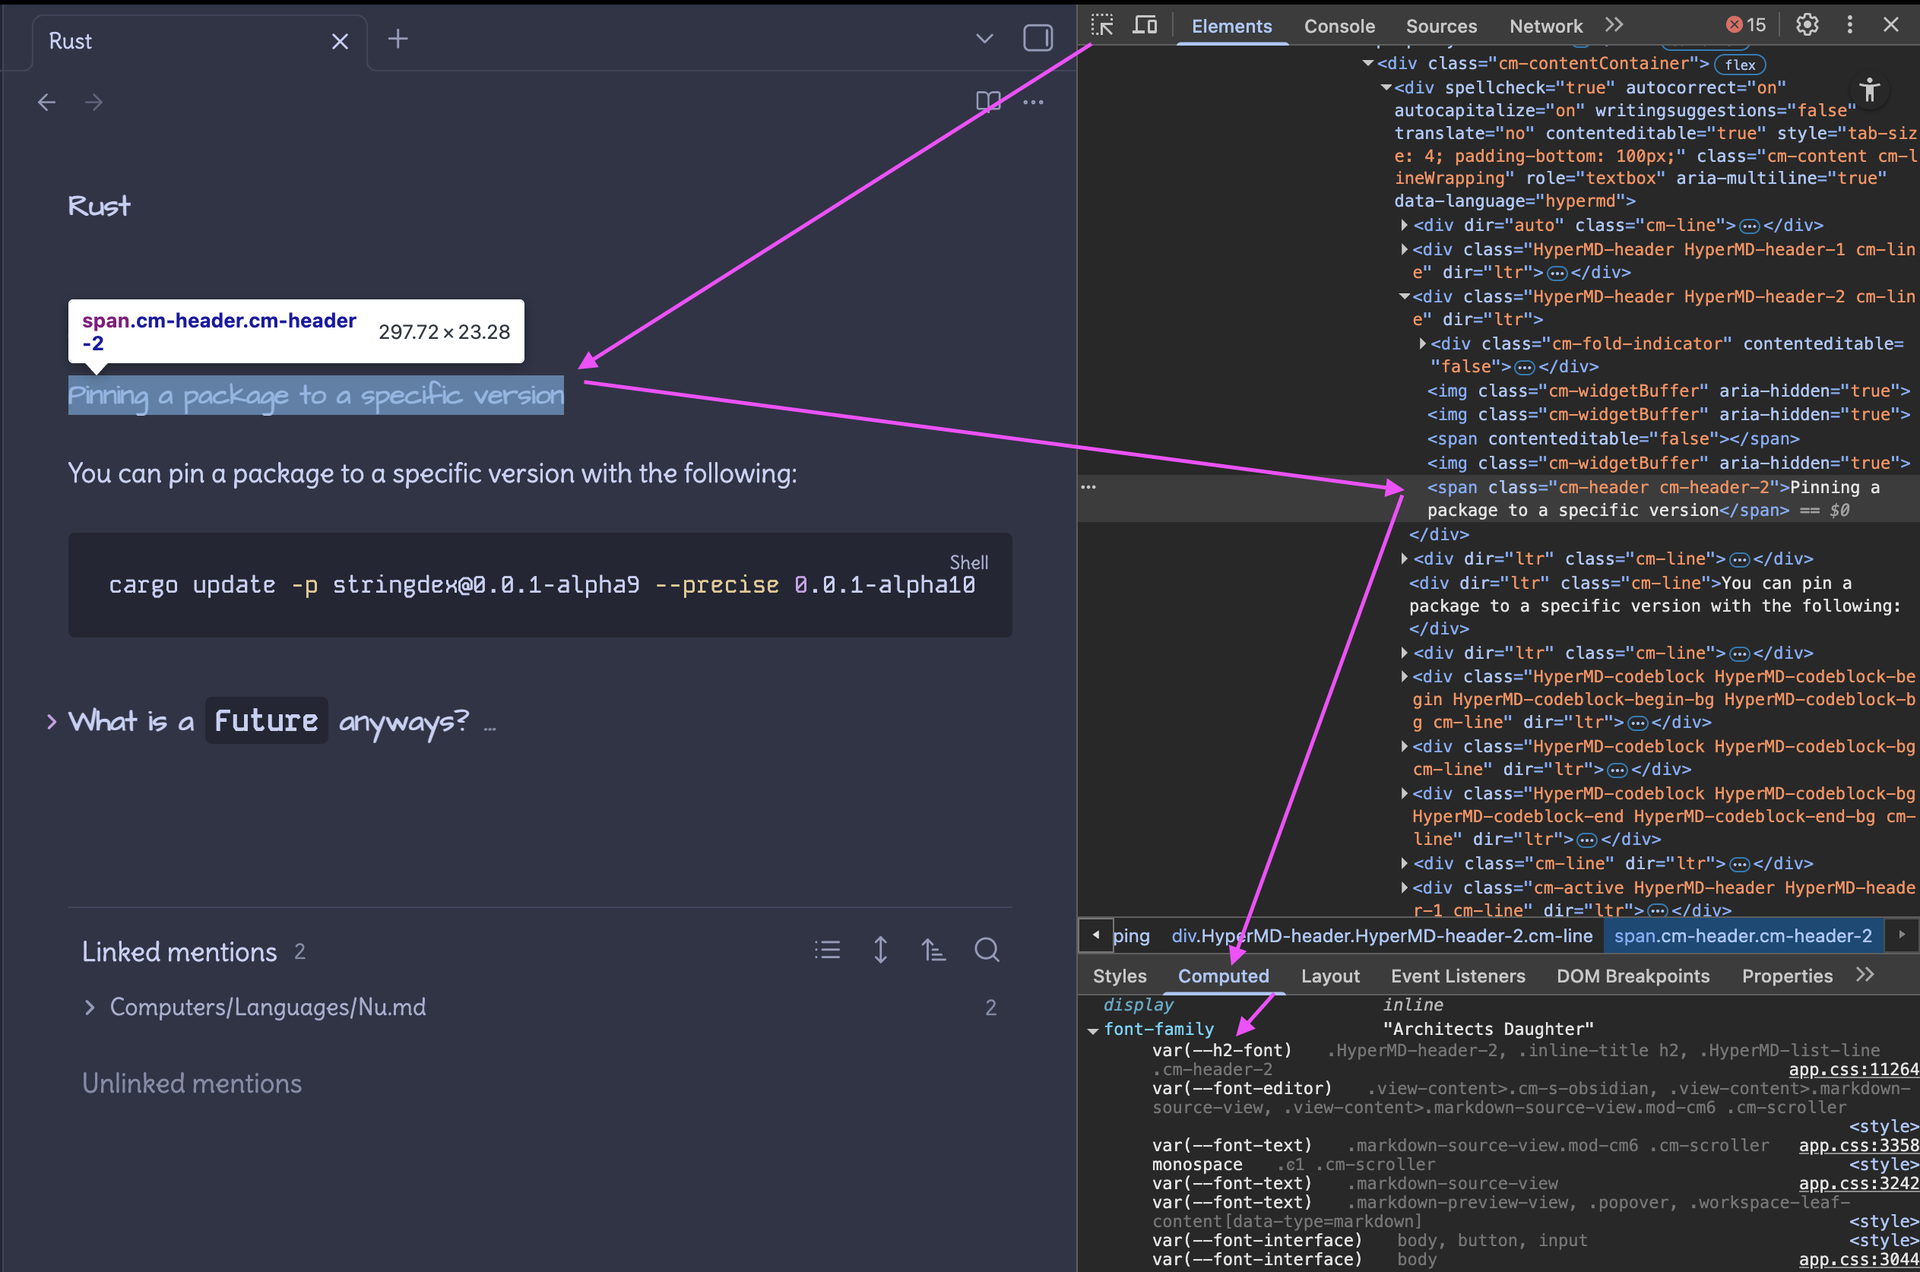
You'll need to figure out what element selector you want to manipulate the fonts on.
For me, to override the headings can do this to override the heading fonts:
body {
    --h1-font: "Architects Daughter";
    --h2-font: "Architects Daughter";
    --h3-font: "Architects Daughter";
    --h4-font: "Architects Daughter";
    --h5-font: "Architects Daughter";
    --h6-font: "Architects Daughter";
}
You can override things more directly, too! You can even get fancy!
You can reference the Obsidian CSS Variables and use the Inspector and CSS selectors to find all sorts of things you can style! If you want to learn CSS I recommend playing CSS Diner as a learning tool and using MDN as a reference. You can also use the Inspector to play with styles interactively, too!
Just like before, you might have complications, but you'll get through this! Be patient, try to stay curious. If you get frustrated, take a break. Come at it again later.
Publish Fonts
Publish is a whole different kaboodle to normal Obsidian. This means there is a nice separation between your 'Notebook' and your 'Published' views of your documents.
If you'd like to manipulate the fonts on your Publish theme, the way to do that is edit what the provided publish.css theme uses. The caveat here is that any time you update your publish.css from the source, you'll need to make a copy of your CSS snippet again. Annoying, but fine.
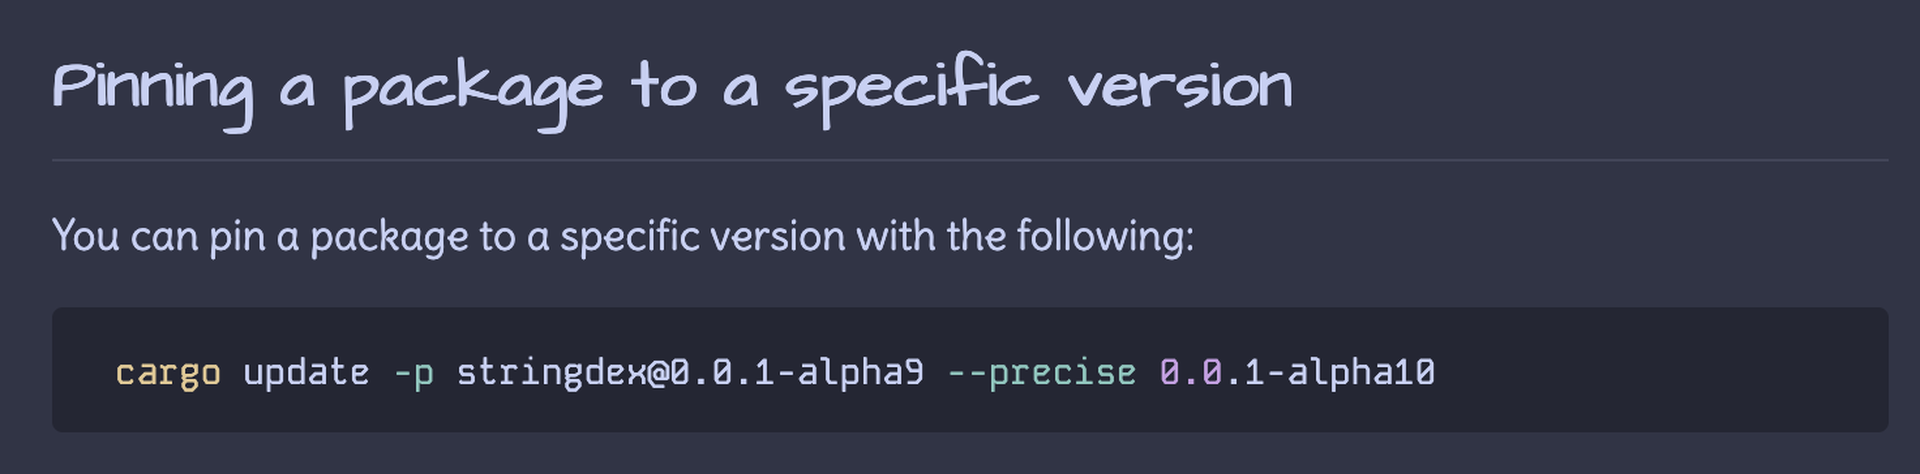
Since I want my Publish and Obsidian theme to be nearly the same, I was able to copy my CSS snippet from above exactly into the bottom of my publish.css, then ran a publish on my Obsidian site. After a few minutes (or a reload with a disabled cache), you should see the changes reflected! Like many things with Obsidian, this was surprisingly easy!
Here's the published version of the same article snippet as before:
If this doesn't work for you, you can use your browser's developer tools (namely the inspector) to figure stuff out! Remember, this is like playing with paint. Have fun, make a mess, clean it up (delete it) if it doesn't work out!
Not just fonts
If you're sitting there like:
But wait, none of these instructions are specific to fonts beyond encoding, can I just do any styling I want?
You sure can! Have at it! I hope you have as much fun hacking on Obsidian as I do!